Start your Stencil Screen Printing Journey Today ✨
Unleash your creative side and screen print at home. It's super fun, safe to do and easy to clean up. In this 'how to' we'll go through the basic steps of Screen Printing on T-Shirts & Fabric, using our 'T Shirts & Fabric - Screen Printing Stencil Kit'.
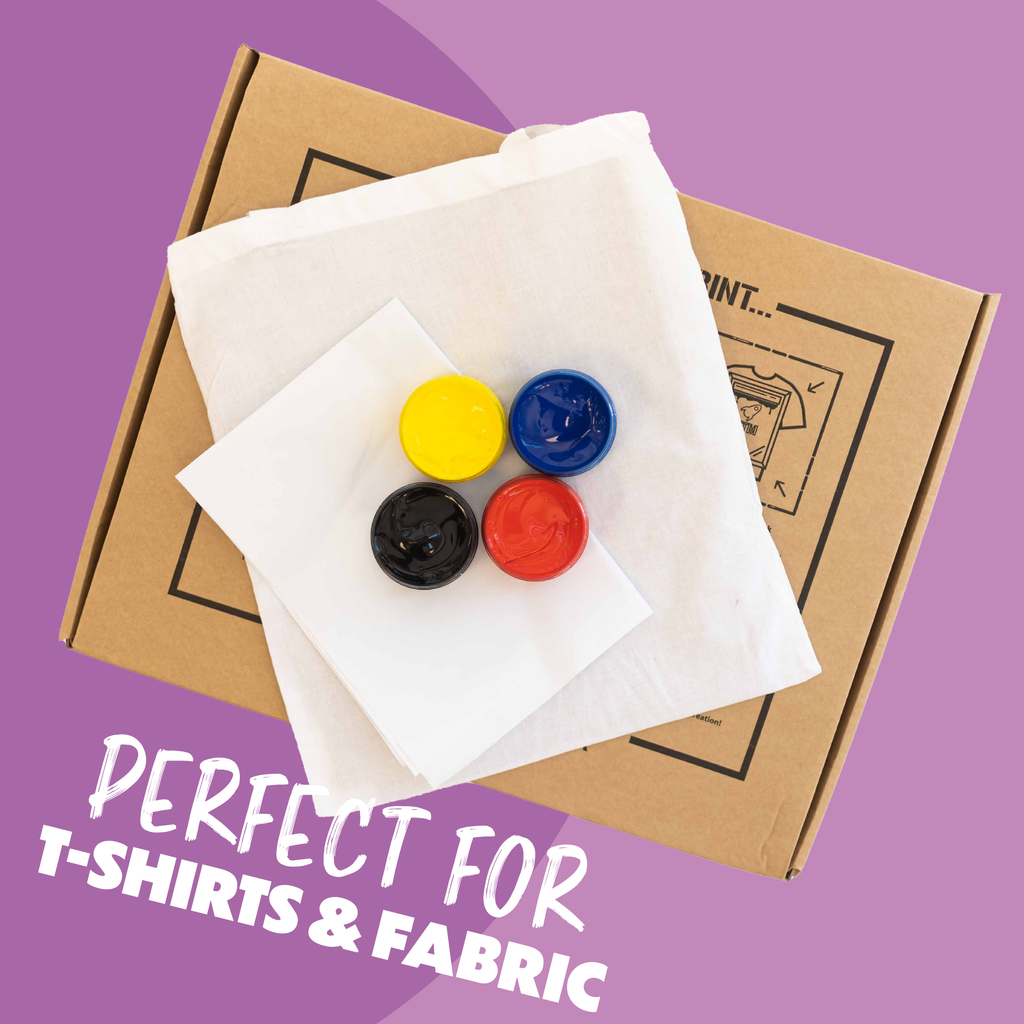
This kit is perfect if you're looking to start your own T-Shirt Business, whether that's printing onto old clothes or new clothes. We're printing onto a tote bag, but the process is exactly the same for printing on t-shirts, tea towels, bed sheets and more!
Buy The KitThe Tools 🧰
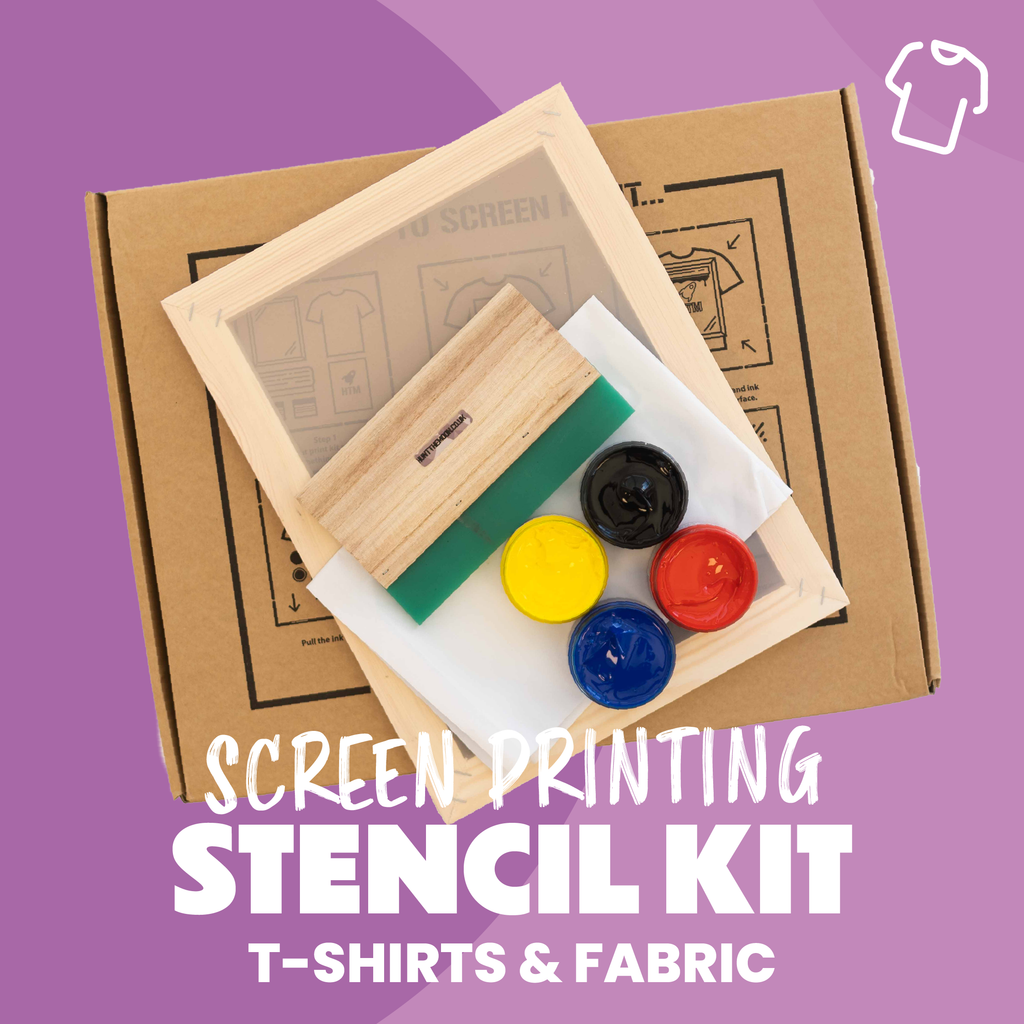
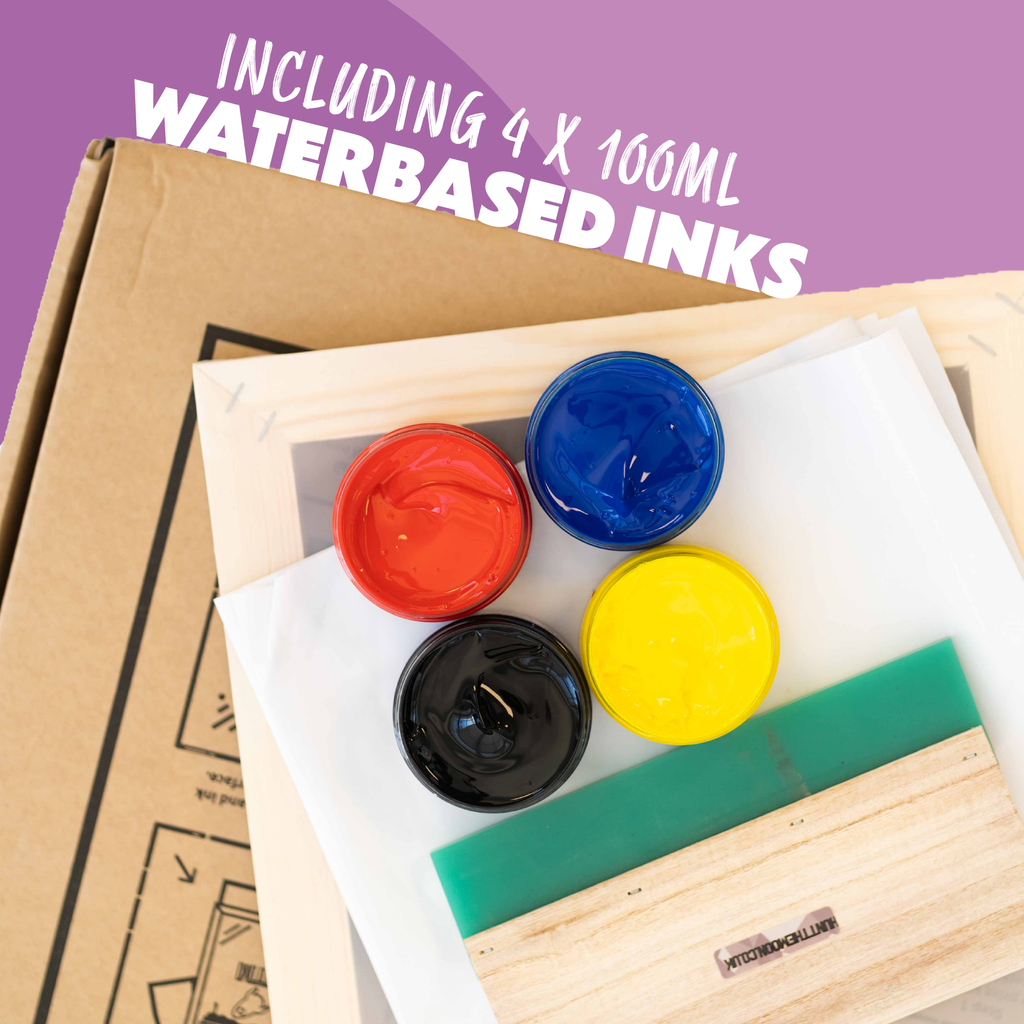
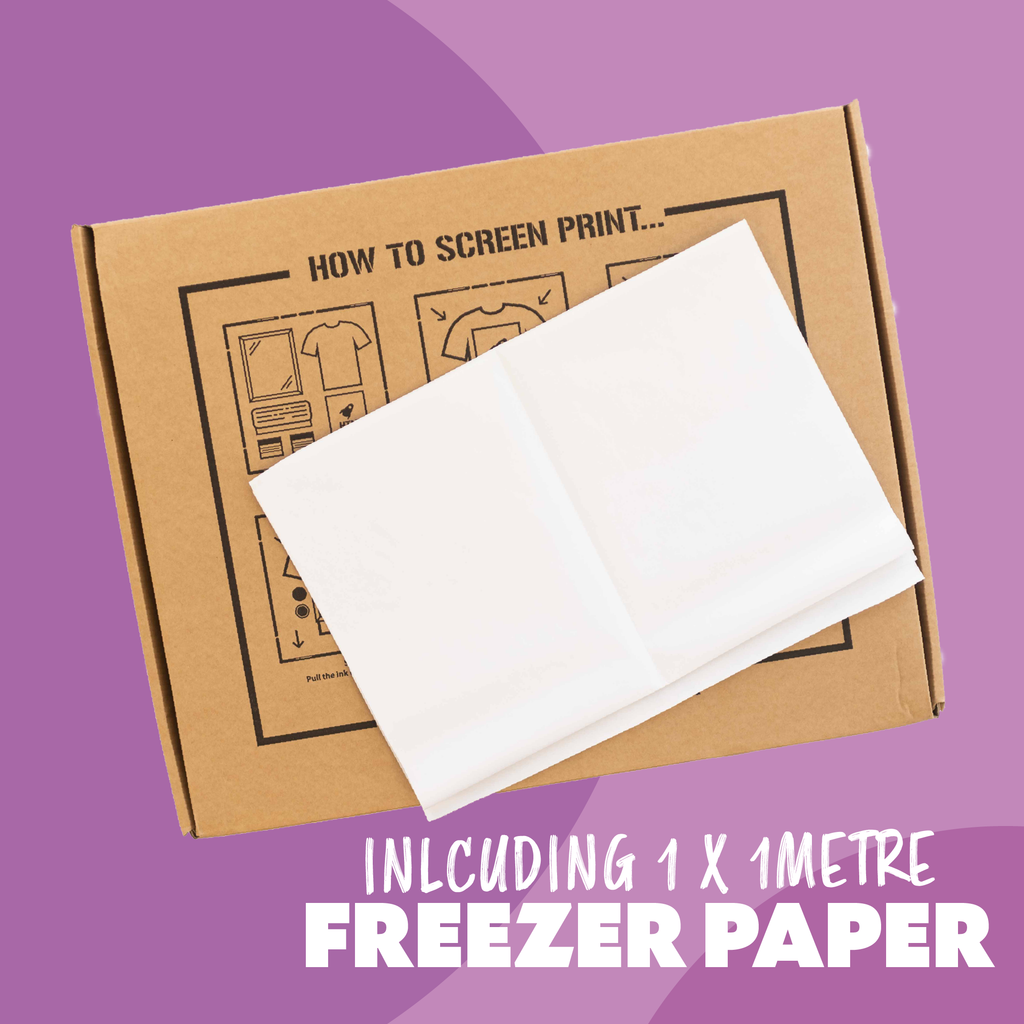
Using our T-Shirts & Fabric - Screen Printing Stencil Kit, we already have all the gear we could need, including, a Screen, Squeegee, a set of 4 waterbased inks and Freezer paper. The real difference between the Paper & Card vs T-Shirts & Fabric is the mesh count of the screen, which in this case is a lower mesh count.
However, for this example, we opted for Yupo Paper instead of freezer paper due to the benefits. The only additional tools we had were a pen, Blue Roll tape and a Craft Knife.

What we are using ✨


The 5 Simple Steps ✨
1. Make a stencil
When it comes to stencil printing, It's as simple as it looks. It's a shape cut out of paper. Make it as complex or simple as you like, but we'd recommend starting simple. For this tutorial, we went ahead and drew the design onto the Yupo Paper (either side works). We decided to create a simple crescent moon with some stars ✨


2. Cut out the stencil.
We're using a craft knife but scissors will also work - just a little more fiddly. Simply cut out your shape and you are away!
3. Align & Tape the Stencil
Now it's time to grab your screen and whatever substrate you are printing onto - in this case, we'll be using a Black Tote Bag. Now you'll want to place the stencil onto the back of the screen, either side works as it's Yupo Paper ✨
In most cases for alignment, you can just move the screen to the best position, however in this tutorial we are using Hinge Clamps, so we are aligning by eye - which is easy given it's just one stencil.
Once you're happy, we recommend taping the stencil to the screen no there's movement, however, the ink should hold it in place. When it comes to taping, tape up the edges of the screen where the stencil doesn't cover the area where the ink will go.


4. Add the ink!
The fun part next - deciding your ink and colours! As we are printing onto a darker fabric, we opted for ourSuper Opaque Silver. However, we have a wide range of inks from Metallics, Fluorescents and Pastels. Next, we simply added a dollop of ink at the bottom of the screen, leaving room for the squeegee to pull.
5. Printing the results!
Flood
After applying your ink to the screen, next, you’ll need to flood the screen. Simply apply little pressure to the squeegee and coat the entire surface of the screen. This helps ensure the mesh on the screen is filled with ink, creating an even layer and preventing any gaps or uneven ink coverage.
Pull
Finally, with a firm and consistent pressure use the squeegee to pull the ink across the screen. Depending on how many screens/layers of colour, this is repeated until you have the final result!
It's that easy ✨
There we have it, a hand-screen printed tote bag. Time to lay up a fresh bag or tee and repeat the process! Looking to print multiple layered stencil prints? Check out our blog.
Whilst you wait for your prints to dry, we recommend cleaning up your screen in a wash area, our Screen Wash is great for this, it'll help accelerate the clean up and help any of those tough bits without damaging the stencil. Because we used Yupo Paper, you can clean and re-use the stencil for much longer - result!

Start Printing today!