
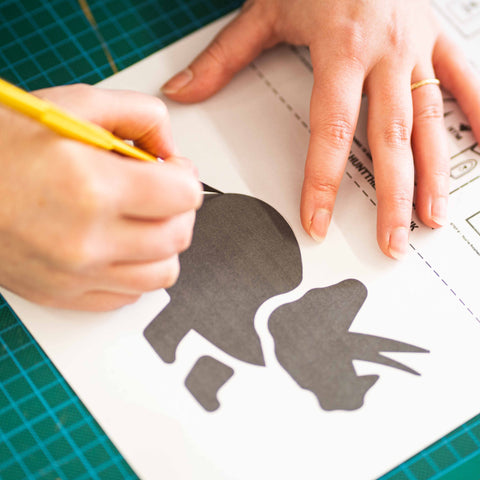
Screen Printing with paper stencils is fun and easy
Paper stencils offer a quick way to explore new designs at a low cost. Draw, cut and go! Whilst they are quick and easy the one thing they don't really offer is durability. Hey, its only paper!
Due to the nature of paper it can deteriorate quicker than other stencil materials and printing methods like vinyl or a custom exposed screen. We offer free digital stencils for you to use at home, check out what we have on offer here.
Below are a few things you may experience when printing with paper stencils, what causes them and how to fix them.
Bleeding and leaking around the edge of the stencil
This can be the result of too much ink being pushed through either during printing or during the flooding of the screen. It can also be the stencil paper wrinkling underneath the screen, as the paper starts to absorb the ink from printing it can get soft and start to wrinkle. When the paper is cut it leaves an open edge to where the ink eventually starts to get in. This can also lead to blurry edges as well.
To fix this use the right pressure during flooding and print strokes and don't expect the stencil to last forever.

Make a few copies if you want to do more than a couple of prints. Remember to place the plastic coated side of your stencil paper onto the surface you are printing on. The non coated side will stick to the screen when you do your first print creating a seal.
If you're looking for some more durable than stencil paper, then check out our Yupo Paper,
a smooth synthetic paper that is ideal for making stencils out of for screen printing.
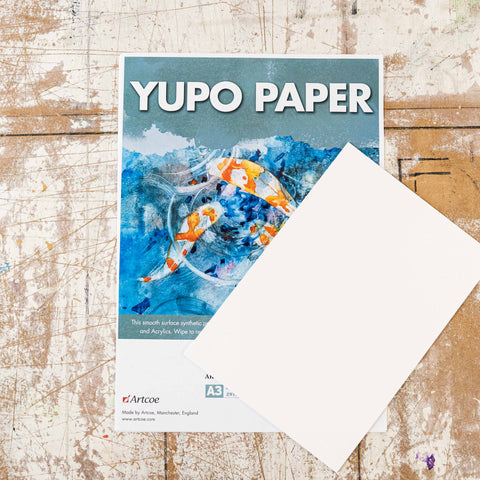
This paper is washable and it last much much longer than freezer paper - ideal if you'll be using the stencil again and again!
Smudging
Again, this is often from a bit too much ink going through the screen and then the screen moving during printing or the surface you are printing on moving.

If your prints start to smudge then stop, check the underside of the screen, clean up any ink that's there and replace the stencil. Be sure to check out our Hinge clamps to hold the screen down, otherwise some spray tack or waterbased pallet glue to hold down your substrate will work.
Screen Blocking + Patchy prints
Blocking in the screen and patchy prints is usually one of two things. Often the case is that the ink is drying in the screen between prints or there is not enough ink covering the screen during the print stroke.
Ink drying in the screen mostly comes from not flooding the screen between prints and the small bits of left over ink drying out.
The flood stroke keeps the open part of the mesh full of ink and the larger amount of ink stays moist. Flooding the screen is really important if you cannot work quickly enough between prints.
Make sure you have enough ink on the screen to start with, there should be enough to cover the full design in one print stroke. Try to avoid using multiple strokes to cover the image and use a squeegee that covers the whole design. This should prevent patchy prints.
Remember to clean all the ink out of your screen soon after printing. This will prevent stubborn bits of ink drying that can also cause blockages.
Having these items to hand can help:

Wipe a bit on with a soft cloth or tissue paper to help remove unwanted ink or stubborn ink in the mesh. Can also be used for clean up after printing.

Having enough stencil paper to hand can keep your session going if you have some set backs. Remember to check out our free stencils you can download for free!

You can use screen tape to mask off the open mesh of the screen that you are not printing through.
Hopefully that helps clear up some of the early problems you may face when screen printing with stencils! Be sure to check out our 'How to Screen Print' guide on the navigation, or drop us an email at info@huntthemoon.com - happy printing!


